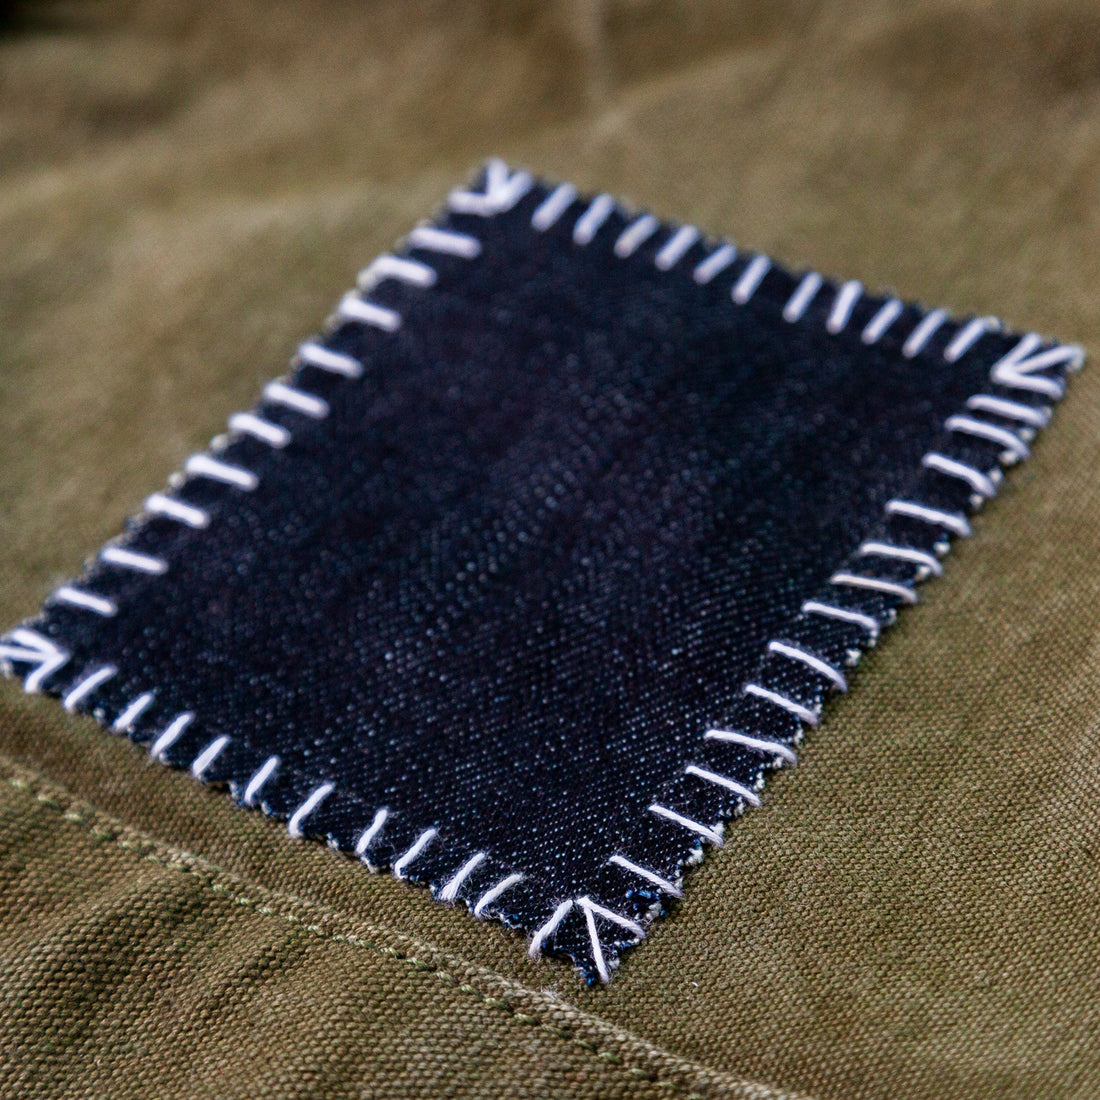
 Heavy weight materials can be difficult to patch and repair. Stitching through thick layers of fabric can be tough, so I created this tutorial to simplify the process. This hand-stitching technique is fast, minimizes stress on your hands, and provides a strong and long-lasting patch. Here, I’m patching an army bag that was my boyfriend’s grandfathers and is used for our laundry. I used a fabric patch with a matching weight to ensure the strength of the patch.
The patch was a fabric sample from Fabscrap. You can even see the glue dots on the reverse that held it to a sample card. This mending how-to is shared with you as inspiration for my Mending Challenge collaboration with Fabscrap that’s soon coming to a close on June 15. Get your entries in! To enter the challenge, mend any personal item using Fabscrap materials or a mutilated garment, like I did here, that you can pick up at the Fabscrap HQ in Brooklyn (Sorry pick up only for the mutilated garments). Share you work on instagram and tag it with #MRxFabMending. Complete rules for entry here.
Materials
Patch (similar weight to your garment)
Item to repair
Pinking shears
Sewing thread & sewing needle
Ruler
Mark Making tool (I used a water soluble pencil)
Sashiko thread
Sashiko Needle (or long embroidery needle)
Thimble
Instructions
1. Prep your patch. Use pinking shears to cut around the patch. This will reduce fraying. The patch is raw-edged, to minimize the amount of layers that need to be stitched through. With sewing thread and needle baste the patch to your repair item.
2. Create sewing guides. Using a ruler and mark making tool mark lines about ¼” from the edge of the patch.
3. Stitch patch. Using sashiko thread and a sashiko needle make single straight stitches to secure the patch to the repair item. Start and end lengths of thread with a knot tucked in between the patch and the repair item. Come up from the guideline on the patch, drop the needle down into the repair item and angle the needle about ¼” away on the guideline. This will be your next stitch. Pull through and continue until the full patch is stitched on all sides.
4. Remove basting thread and any remaining guide lines from mark making tool.

2 comments
Just saw the zodiac embroidered and since I’m very new to this site how do I find the instructions for making it? I think it’s your pattern.
Love this idea! I’ve already done some mending using your book and other tutorials. I have one question: how do you end your stitching? Do you bring thread to back and knot or is there a way to hide it between the fabric and patch? Thanks for sharing so much!!!