HOW TO PREP SASHIKO THREAD
This is how I keep Sashiko thread tangle-free, easy to store, travel ready and the perfect length for stitching.
Before threading your needle, let the thread hang and smooth it with your fingers to release any tension. Try pulling your thread through a thread conditioner like bee’s wax or Thread Magic to prevent knots and tangles and protect the thread from general wear.
Sashiko thread is not intended to be a plied thread, like embroidery thread. Use as a single "ply" or doubled over. I often stitch with a single "ply", since sashiko thread has a nice thick line weight. For an extra thick, bold line use doubled over thread. Thread your needle, fold the thread in half, and tie a knot.

- Remove the paper band. Note the color number on the back if you want to match the color in the future.
- Unfold the thread, which is in a continuous loop. Cut through all the threads.
- Fold the length of thread in half and tape (or place a heavy object over) the top loop to a work surface.
- Separate the two sections of the thread into three sections.
- Loosely braid the thread sections. Do not tie the ends. Let the thread ends be loose.
- Remove the tape. Pull single threads from the looped top of the braid for stitching.
SASHIKO MINI SAMPLER PROJECT IDEAS
There are so many ways to use your sampler. I'd love to see what creative projects you come up with. Here are some ideas...


Sachet
Make a set a sachets. Use your favorite herbs for a sweetly scented gift. I love using a combination of cedar, lavender, mint, dried lemon and rosemary for a beautiful scent and natural bug deterrent.
For full project instructions check out the sachet project in my book, Make and Mend.
Patch
This linen cotton fabric is super sturdy and great for patching. I'd suggest basting the fabric in place and then stitching through all the layers for extra strength, but you can also stitch first and then stitching over the patch area, like was done in this example.
Patch & photo by Jon Gaffney @jongaffney
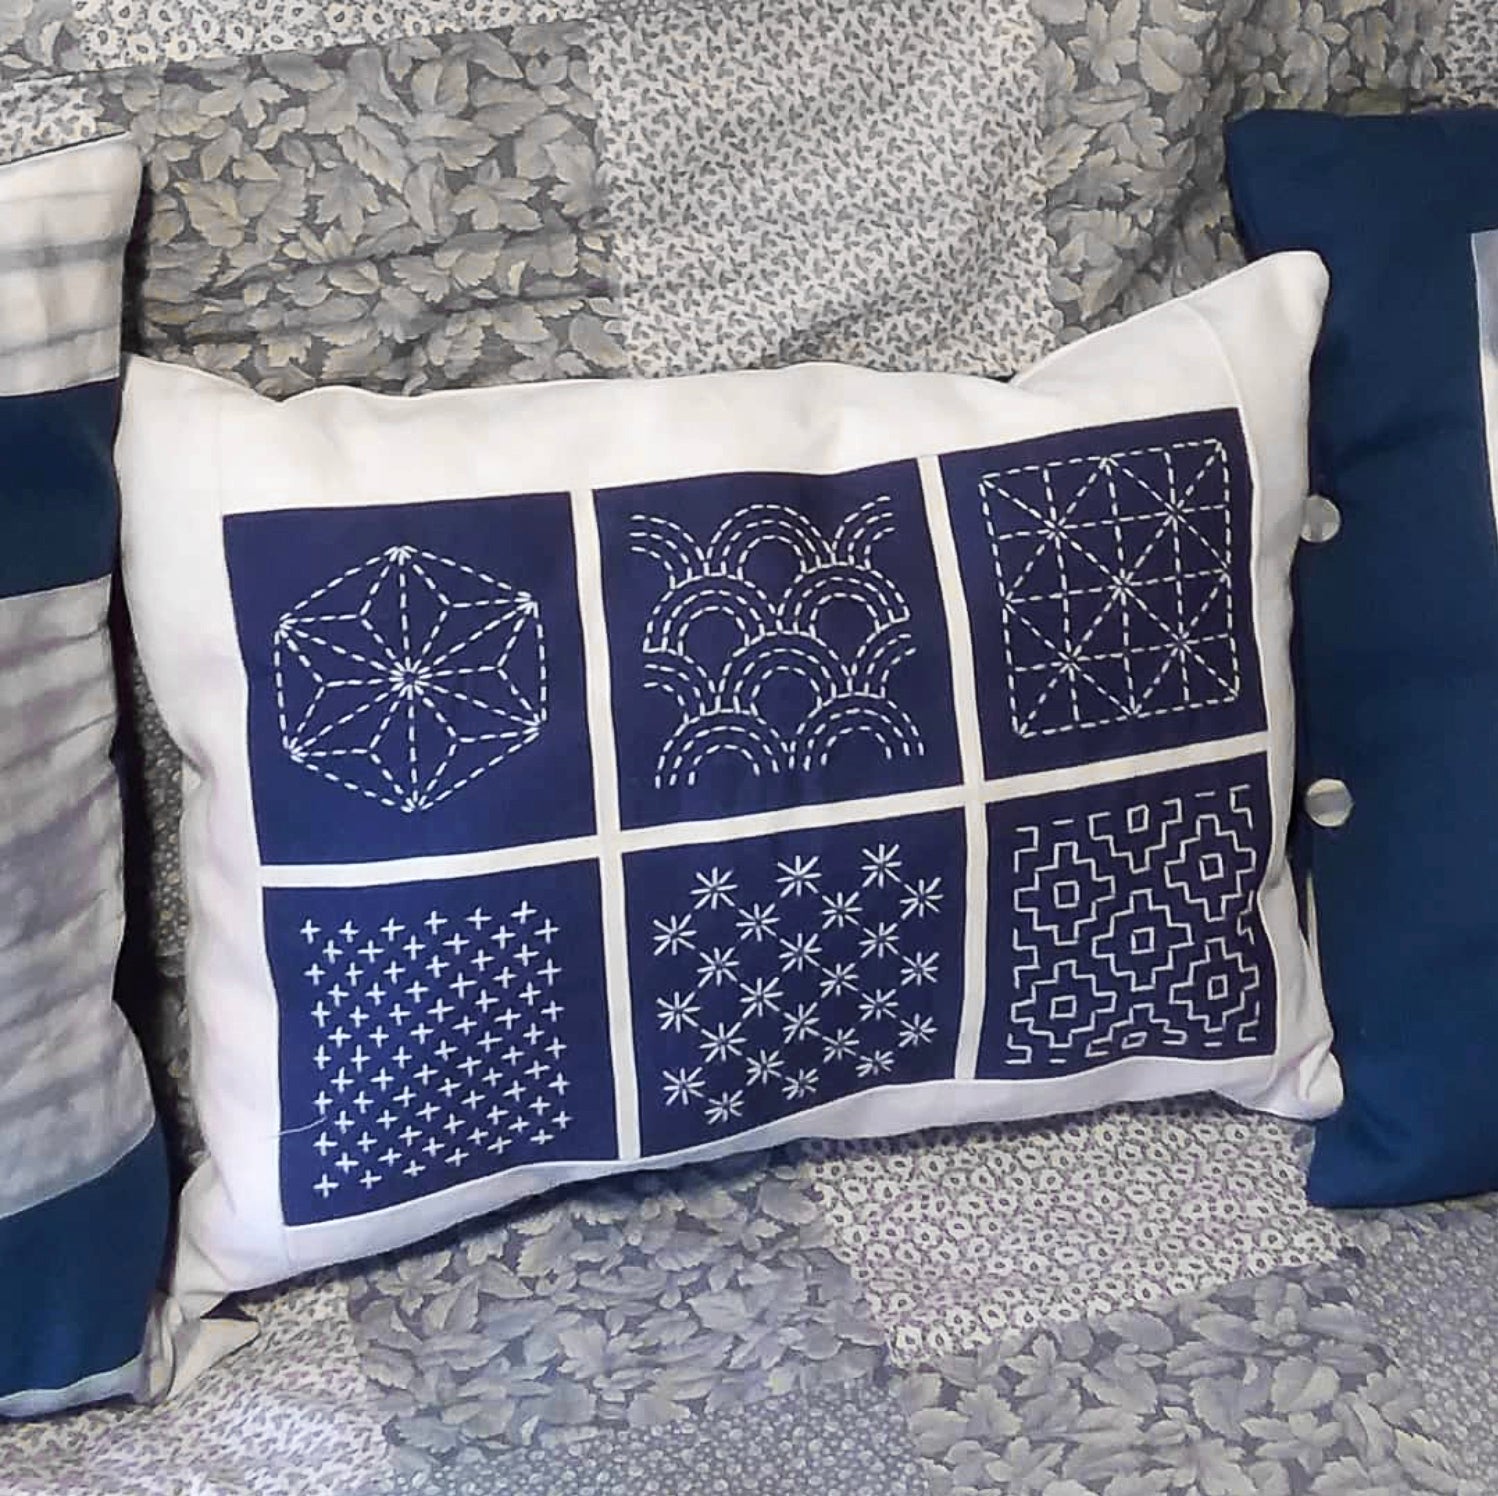
Pillow
This pillow was made using the full pre-printed pattern as is, so without cutting out the individual patterns. The artist added a white boarder to complete the pillow. Looks awesome!
Project & photo by @margeryheyl

Cover
Great way to cover up any unwanted logos! This sampler was stitched first, then the edges tucked under. The whip stitch was used to secure the patch over the logo.
Patch & photo by @duckandpisaster
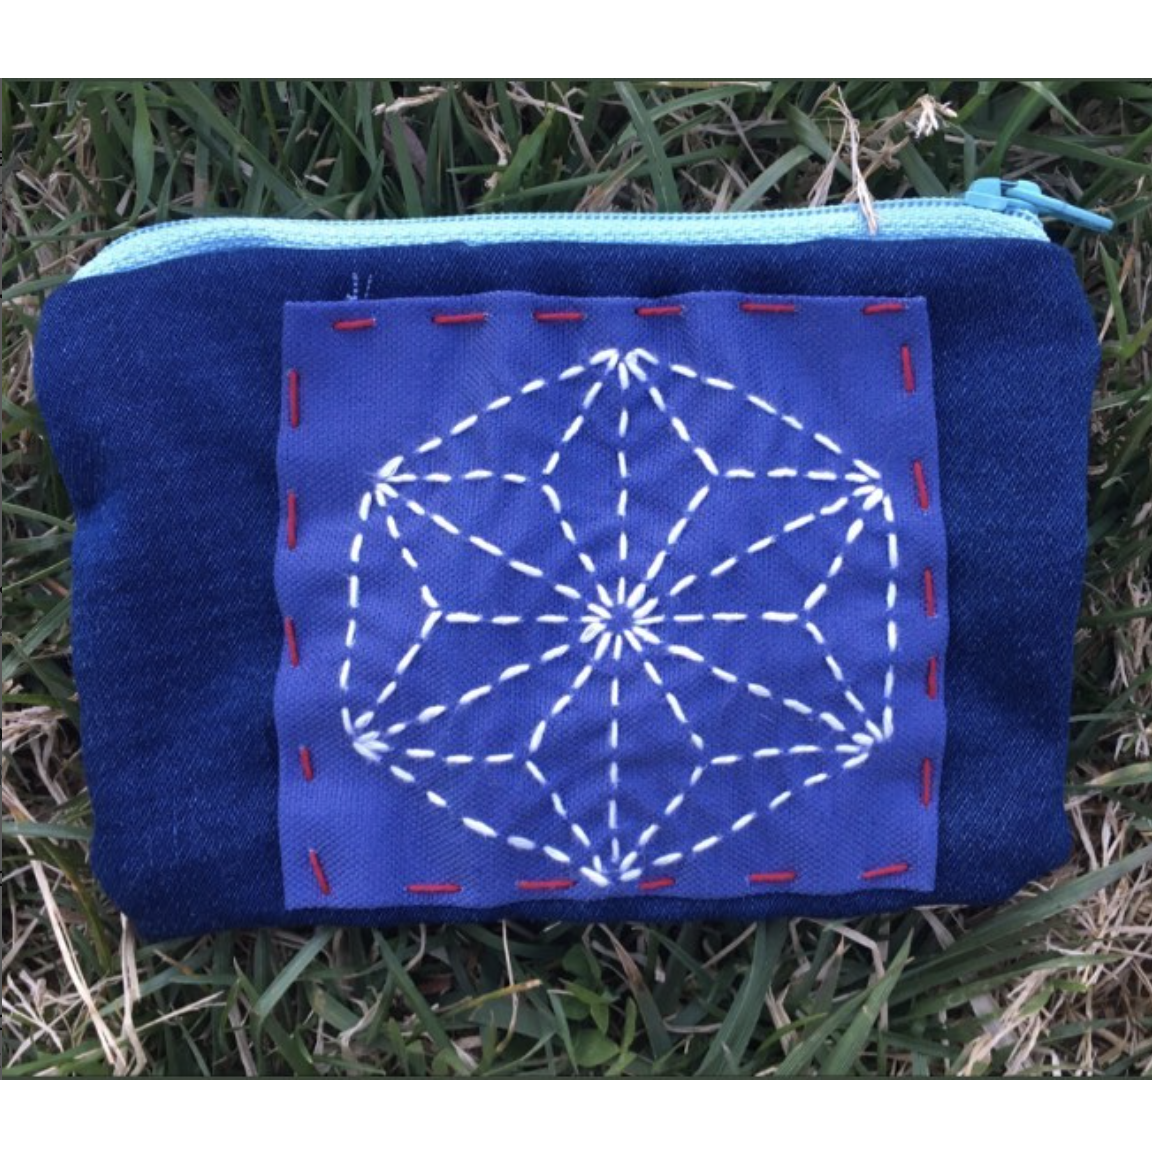
Zipper Pouch
Use the patterns to make a zipper pouch or to decorate pre-existing pouch adding pattern, color and strength to the fabric.
Pouch and photo by @coeurgrandouvert