
 For this project I worked with a mutilated garment from Fabscarp. The sleeve had been cut almost completely off, so I decided to use a piece of scrap material also sourced from
Fabscrap to create a new sleeve using the original sleeve as a pattern piece. Beyond recreating a sleeve you could use this technique to duplicate other garments or pieces, like a shirt pocket, or even duplicate a garment. There’s lots of ways to use this project to mend and customize your wardrobe. 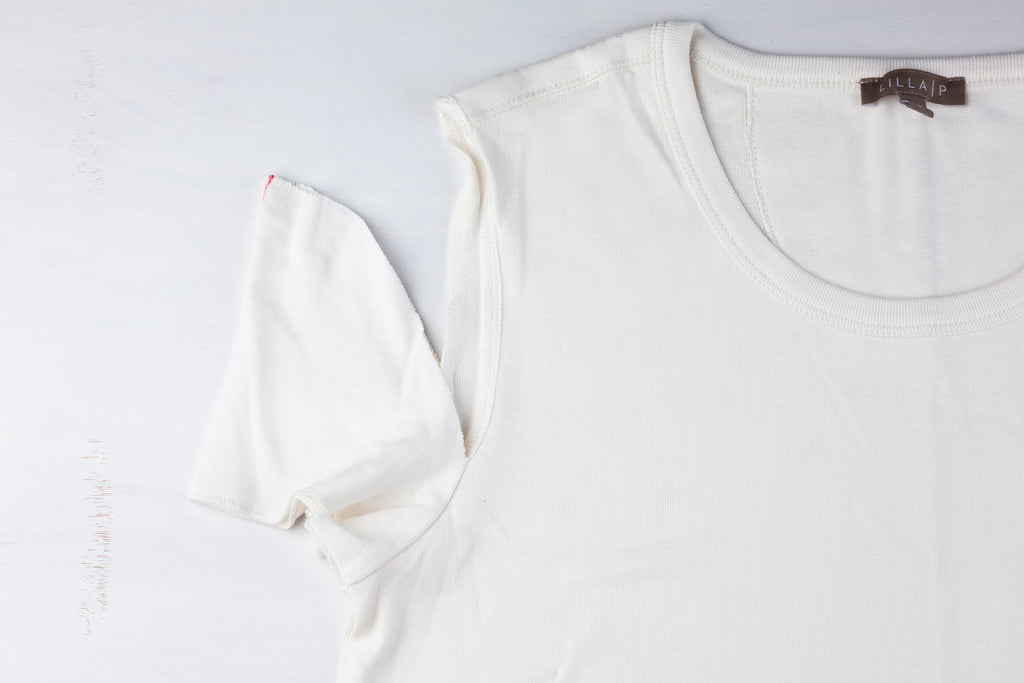
This mending how-to is shared with you as inspiration for my Mending Challenge collaboration with Fabscrap that’s taking place right now, May 15 - June 15. To enter the challenge, mend any personal item using Fabscrap materials or a mutilated garment, like I did here, that you can pick up at the Fabscrap HQ in Brooklyn (Sorry pick up only for the mutilated garments). Share you work on instagram and tag it with #MRxFabMending. Complete rules for entry here.
Materials
Garment to repair
Scissors
Tracing paper & marker (optional)
Fabric
Mark making tool (I used a water soluble pen)
Ruler
Sewing pins
Sewing machine & matching sewing thread
Instructions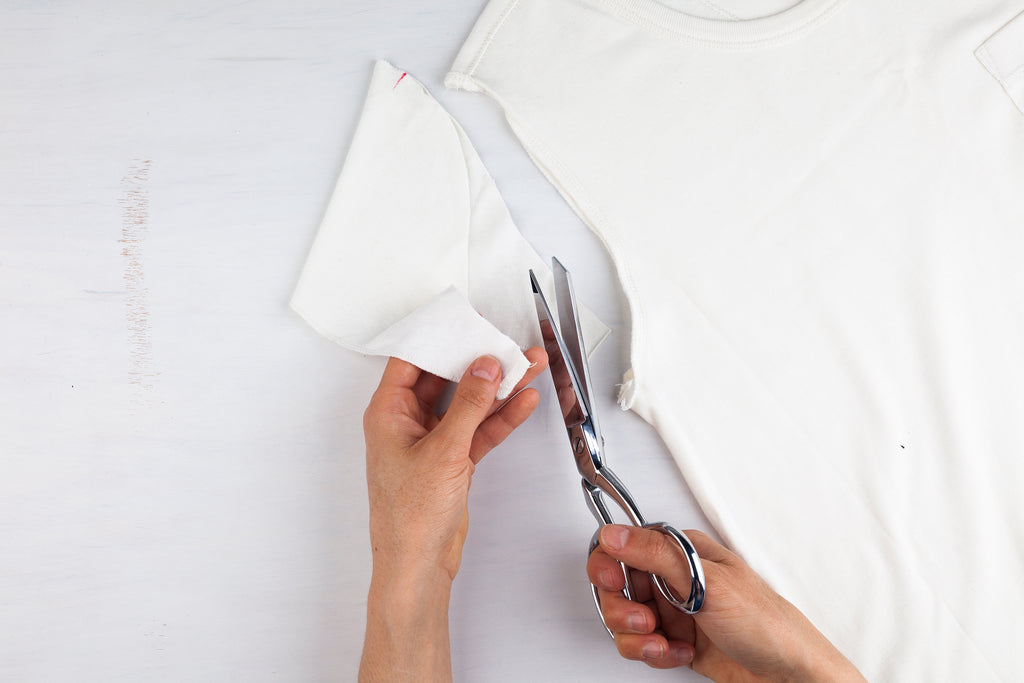
1. Create a pattern piece from garment. In this case the sleeve was already cut, so it was fully removed and the seam cut. This is my piece to duplicate. This can also be done by outlining the garment using tracing paper and a marker. For example, some areas you can duplicate include a shirt pocket, tank top or back area of a jean jacket. Get creative.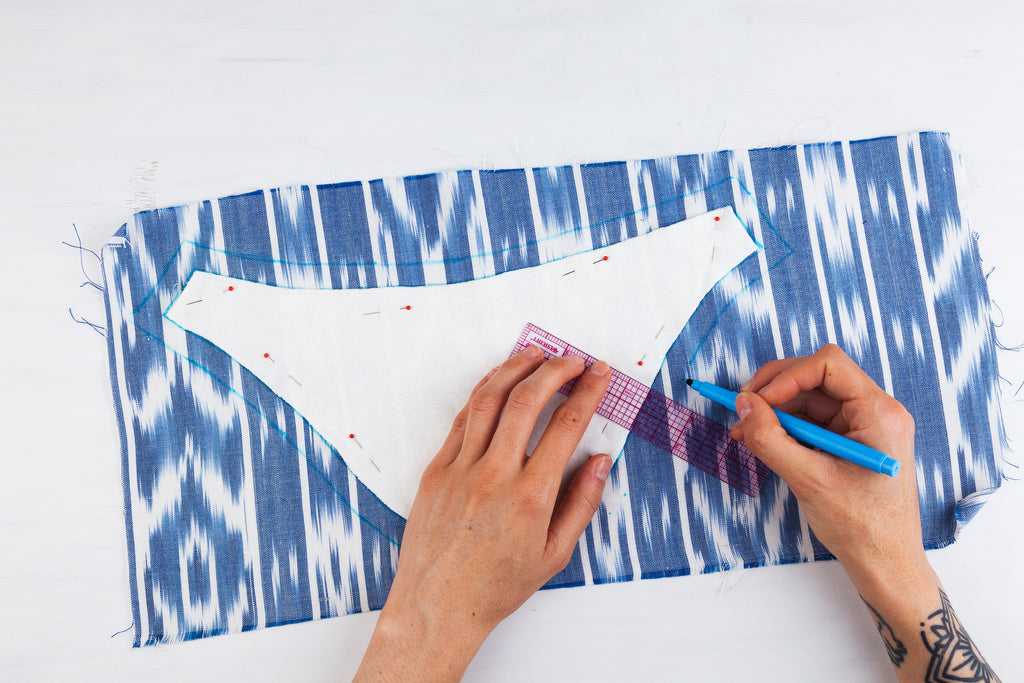 2. Duplicate the pattern piece. Place the sleeve or tracing on a pieces of fabric right side up and pin in place. Trace around the shape with a mark making tool. Add a ½” seam allowance. If working from a paper tracing add a the ½” seam allowance to your paper. Following your marks cut around the full piece.
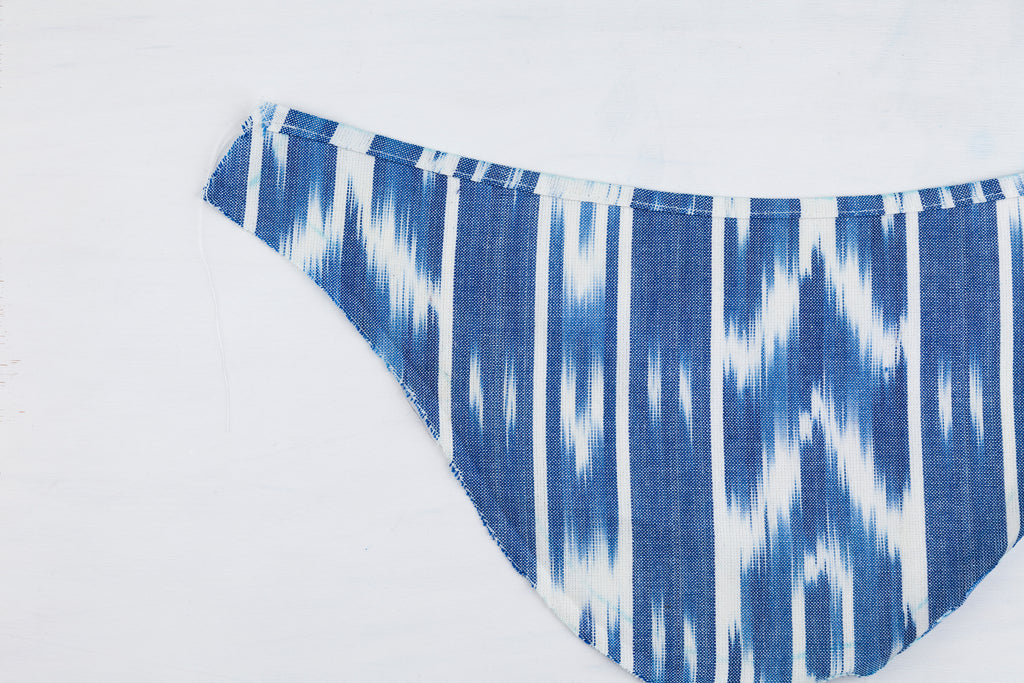 3. Sew outer edge of sleeve. With right side down iron ¼” seam and fold twice on the outer edge of the sleeve. Pin and machine sew. Depending on the garment you are duplicating you may need to skip or refine this step to match the previous garment.
4. Sew the short sides. With right sides facing pin and sew the short sides together, creating the sleeve shape. Iron seam open.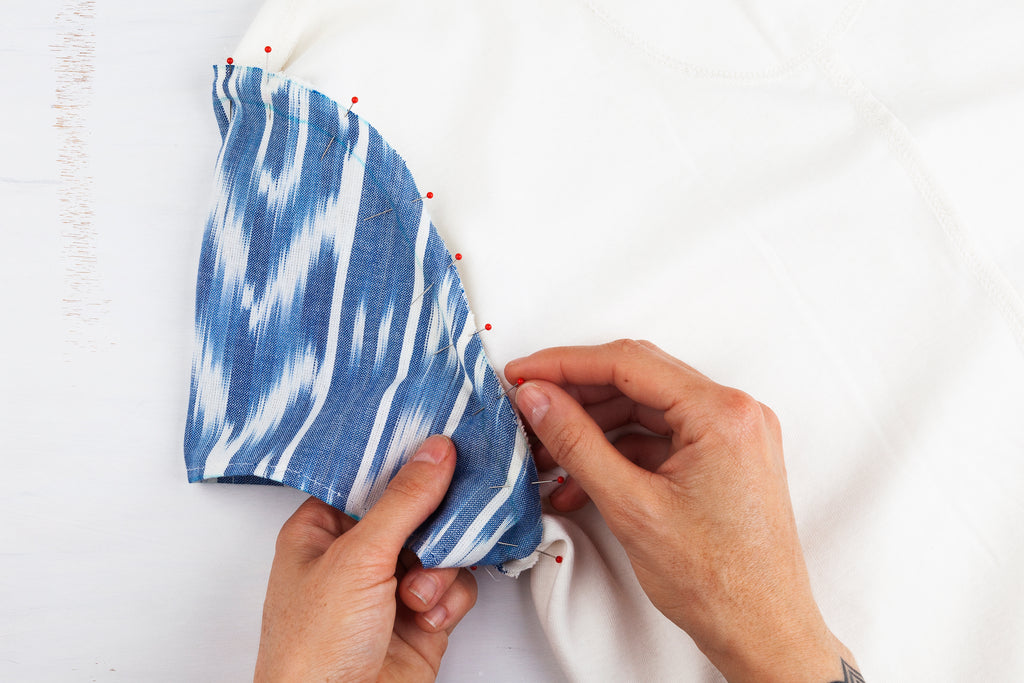 5. Attach the sleeve. Turn the sleeve inside out. Fold in half with the seam on the bottom and mark the top, center. Fold again meeting the top and bottom centers and mark the centers on each side. Turn the garment inside out and mark the top, center, and each side, center. Using these marks and the seams pin the sleeve to the garment. First, line up and pin the seams and center marks. Continue pinning all the way around. Sew sleeve with a ½” seam allowance.
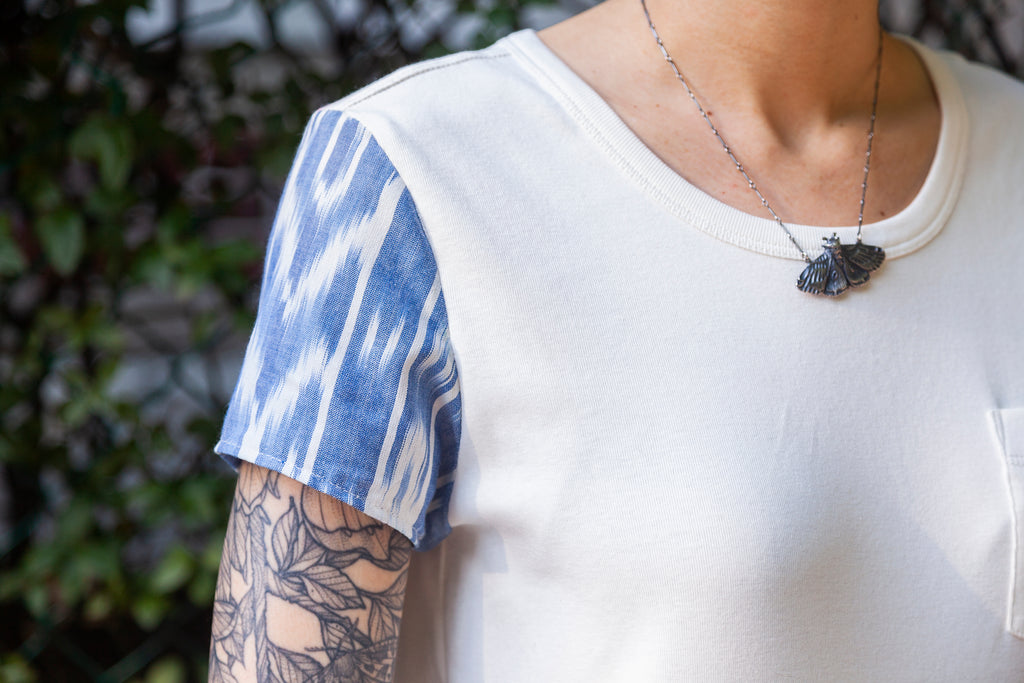
I hope this tutorial can inspire some future projects! Please let me know if you give this a try! I'd love to see your projects! And be sure to get your entries in for the #MRxFABmending challenge by June 15th. 