
 Thinking of joining in our first ever creative challenge? Here's a quick and easy step by step tutorial for drawing the pattern. There are several ways to transfer a sashiko pattern, but my favorite is to draw it directly onto my fabric. It gives you the most flexibility to alter the pattern, like changing the scale to make it larger or smaller.
First, you'll need some simple tools that you might already have on hand. If not, I have mending kits that include everything below, but the scissors.
- Fabric - I used canvas here, but denim, heavier weight linens, cottons and even jersey cotton work well
- Thread - I used Olympus sashiko thread, but use any thread you like.
- Scissors - Sharp snips for cutting thread.
- Needles - I like Olympus sashiko needles, but feel free to use an embroidery needle.
- Ruler - A see through ruler like a Quilt and Sew Ruler is helpful for squaring off patterns.
- Mark Making Tool - I used a water soluble pencil, which is great for dark fabrics, but a water soluble pen or a hera marker work well.
So here's how to draw the pattern, which you can download here.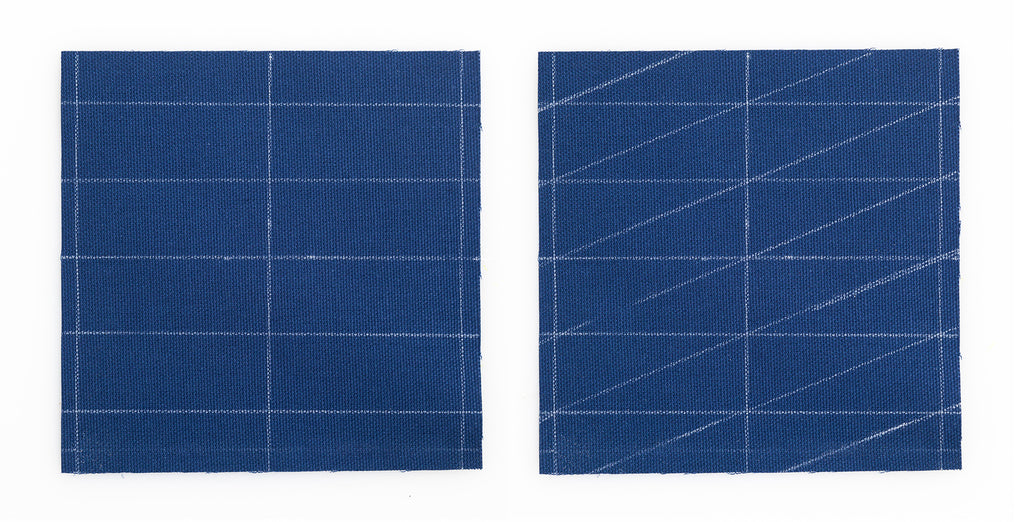
Step 1
Using a ruler and mark making tool find the center of the fabric, both vertically and horizontally. Use those lines to square off and draw 1 x 2 1/2" grid.
Step 2
Draw the diagonal lines.
 Step 3
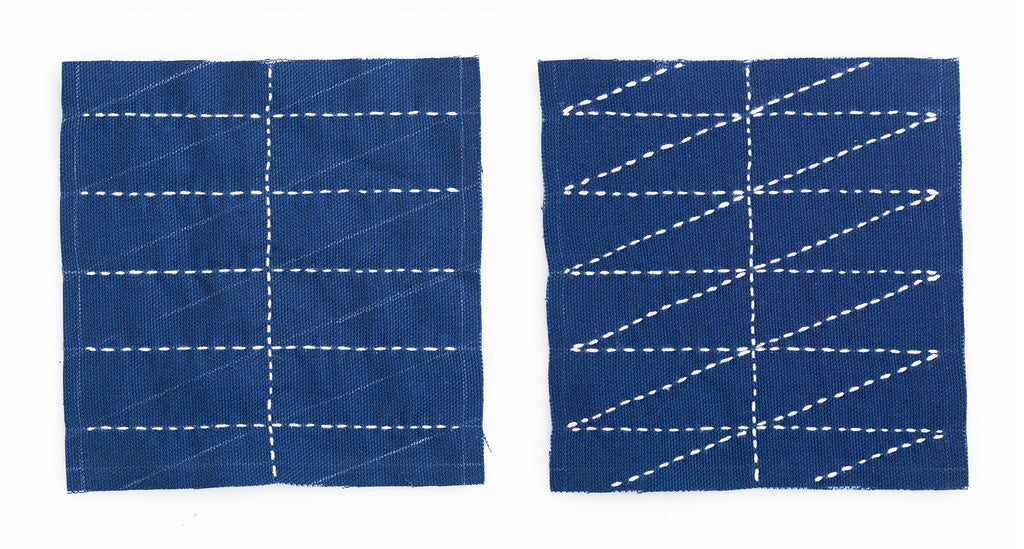
Sashiko stitch the vertical and horizontal lines. I skipped the outer lines here, because I was going to sew around the edges later, otherwise these would be stitched.
Step 4
Stitch the diagonal lines.
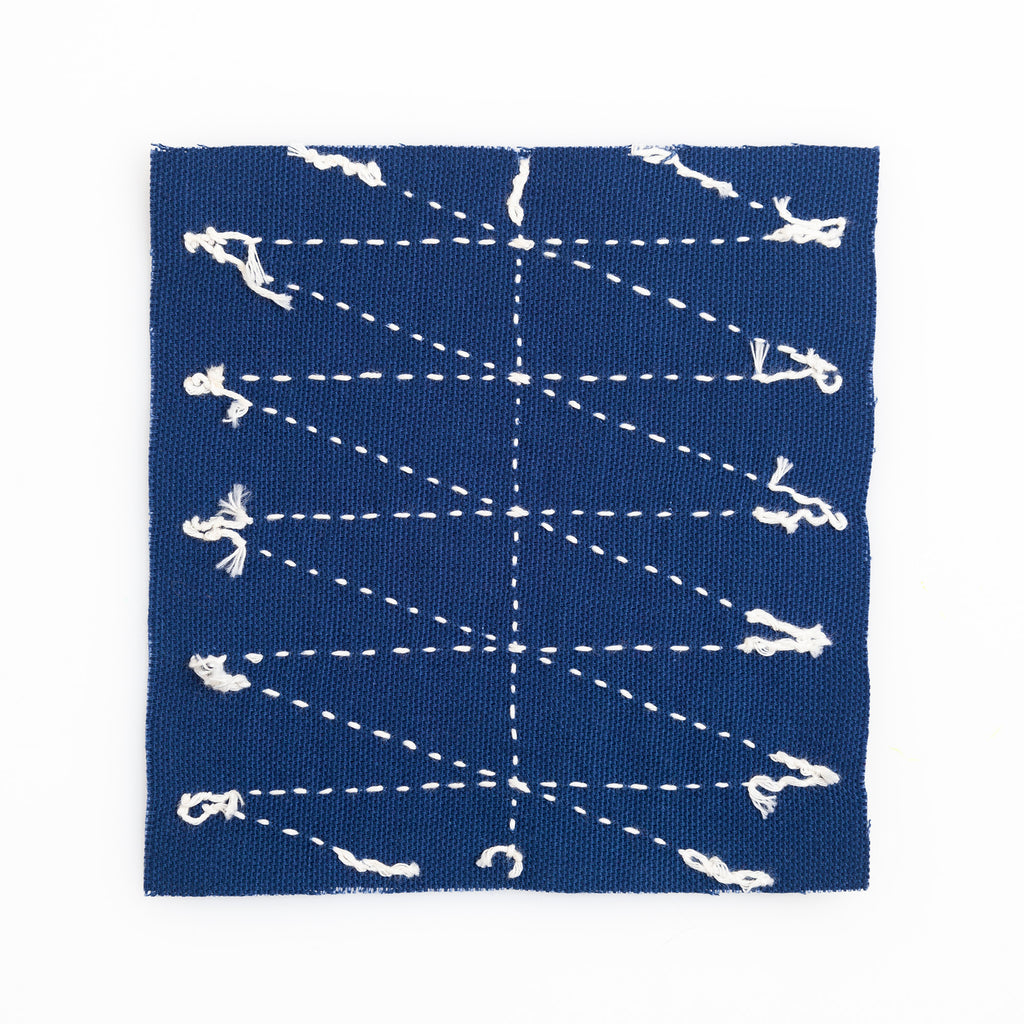
Beginning and Ending a length of Thread
Tie knots to begin and end a length of thread. Another option to for ending a length of thread is to tuck the tail ends under the previous stitches, like you can see in the image above.
Finishing?
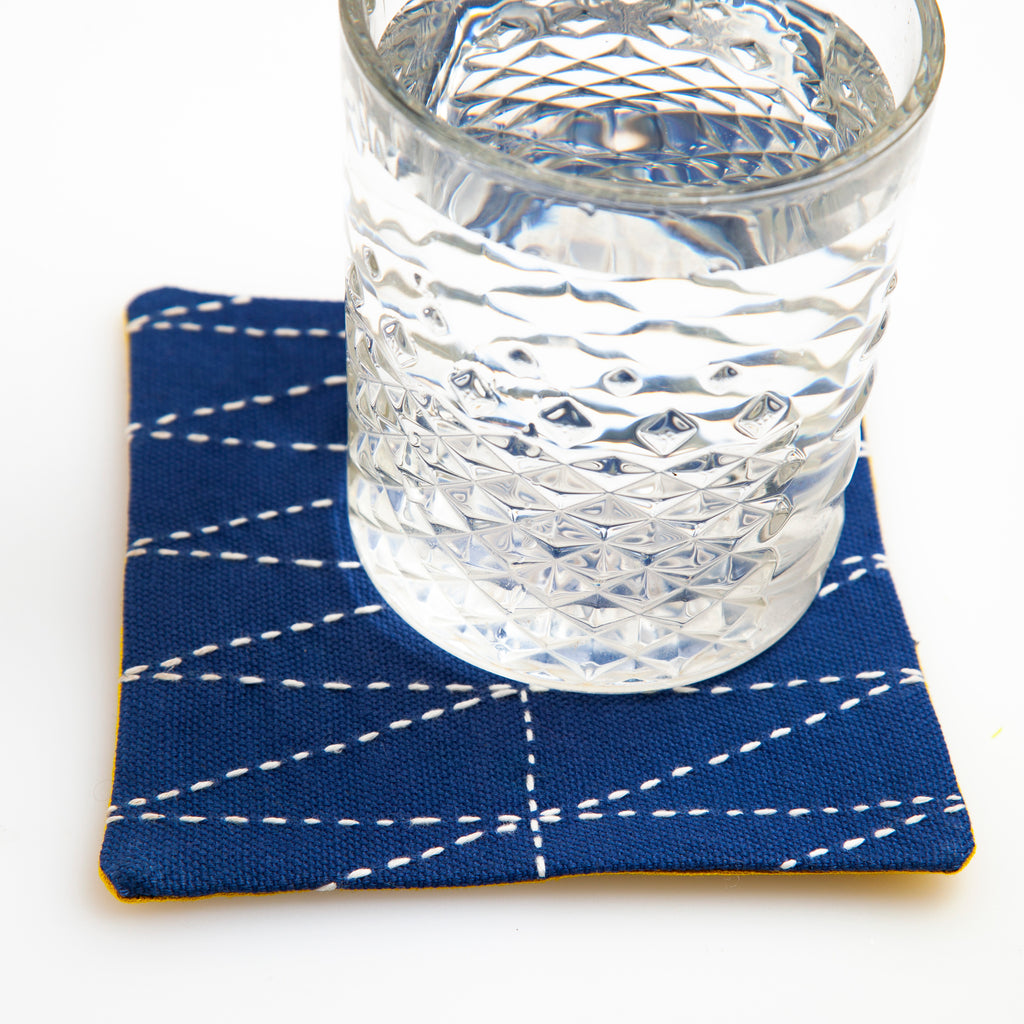
If you need an idea for what to make for the challenge, here's an idea. With this little sampler you can sew another piece of fabric with front sides facing and make a coaster or hot plate. I used a 1/4" seam and left a 2" opening on one side. Snip excess fabric from the corners, and turn right side out. Hand sew the opening closed. And, you're done!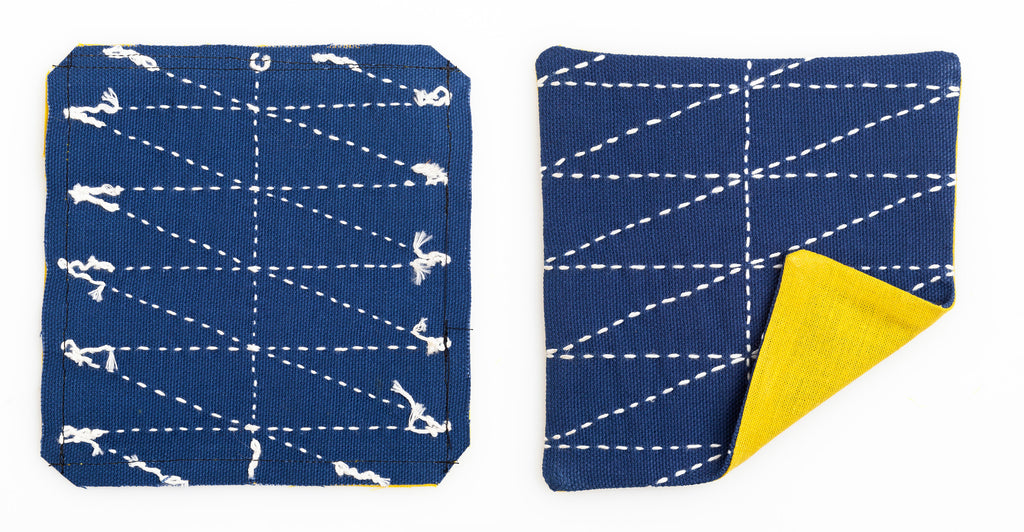
1 comment
Gracias, muy clara la explicación. Sobre tela oscura se ve muy lindo 👏