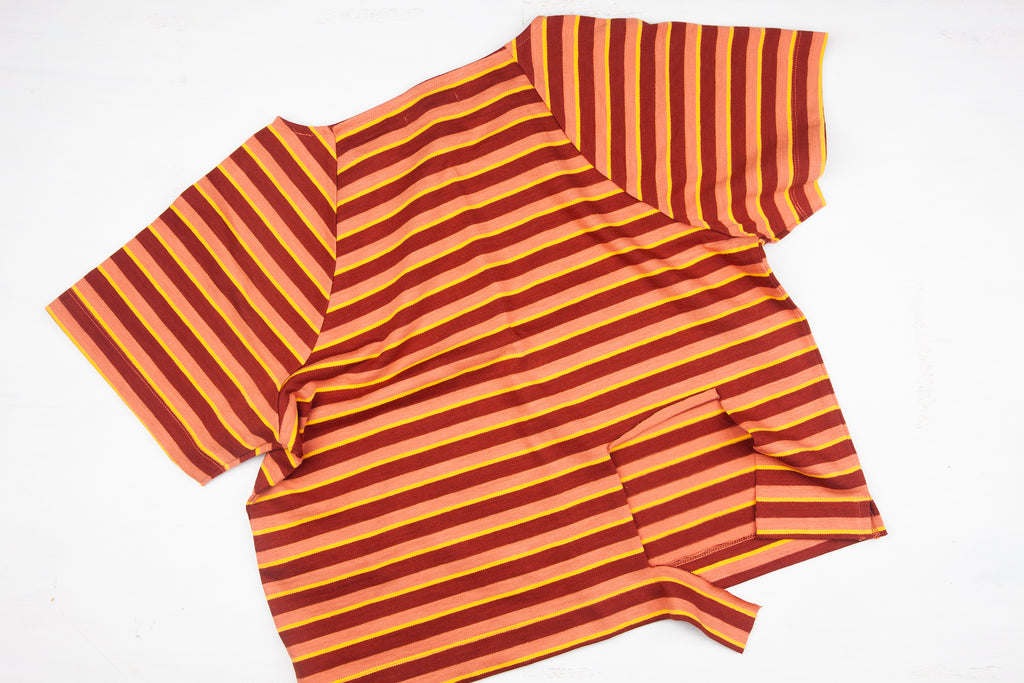
 If you have a hole in a jersey cotton shirt this patching method works well for creating a seamless, high-contrast finish. If you’d like a more low-key option, choose a matching fabric. In either case, use a matching jersey fabric in a similar weight, so that the drape of the garment isn’t affected. This patch uses a simple hand stitch for an invisible finish, but feel free to use a sewing machine, too.
This DIY is part of my mending challenge collaboration with Fabscrap. From May 15 - June 15 post an image of a mending project using Fabscrap fabrics on instagram using the tag #MRxFABmending. For more information can be found here.
Even if you're not participating in the challenge I hope this how-to can be helpful and inspire some mending to happen! Let me know if you give it a go- I'd love to hear & see!
Materials
Garment to repair (I used a mutilated garment from Fabscrap.)
Sewing pins
Iron
Scissors
Fabric for patch
Sewing needle
Sewing Thread
Instructions
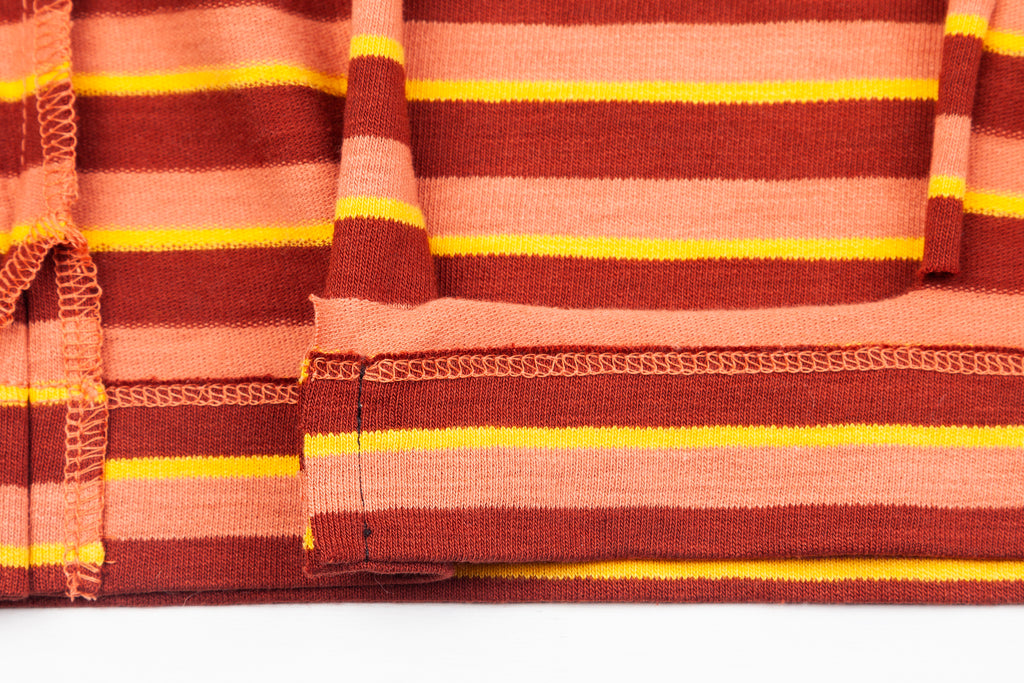 1. Sew seam together. Depending on where your hole is this might be a step you can skip. Since this shirt was cut from the bottom I pinned the edges together with right sides facing and machine sewed with a ¼” seam allowance.
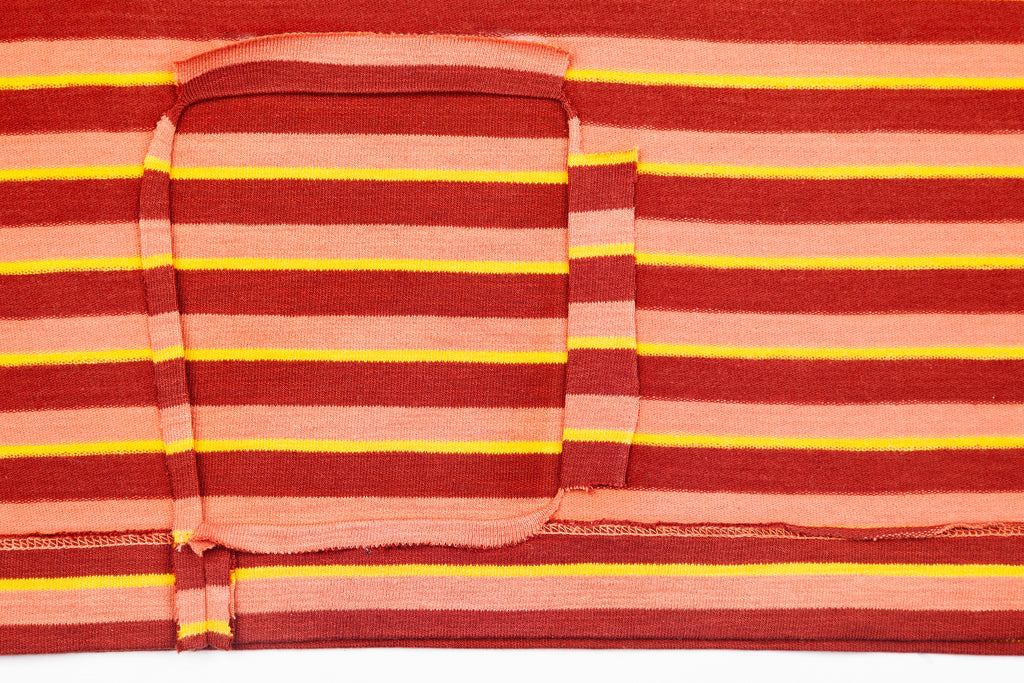
2. Prep the hole. Turn the garment inside out. With an iron fold back the edges of the hole about a ¼- ½ ”. You may need to snip the edges with scissors to fold back some areas.
3. Add the patch. First cut your patch. It should extend ¼- ½ ” beyond the edges of the hole. Place the patch with right side facing down and pin in place.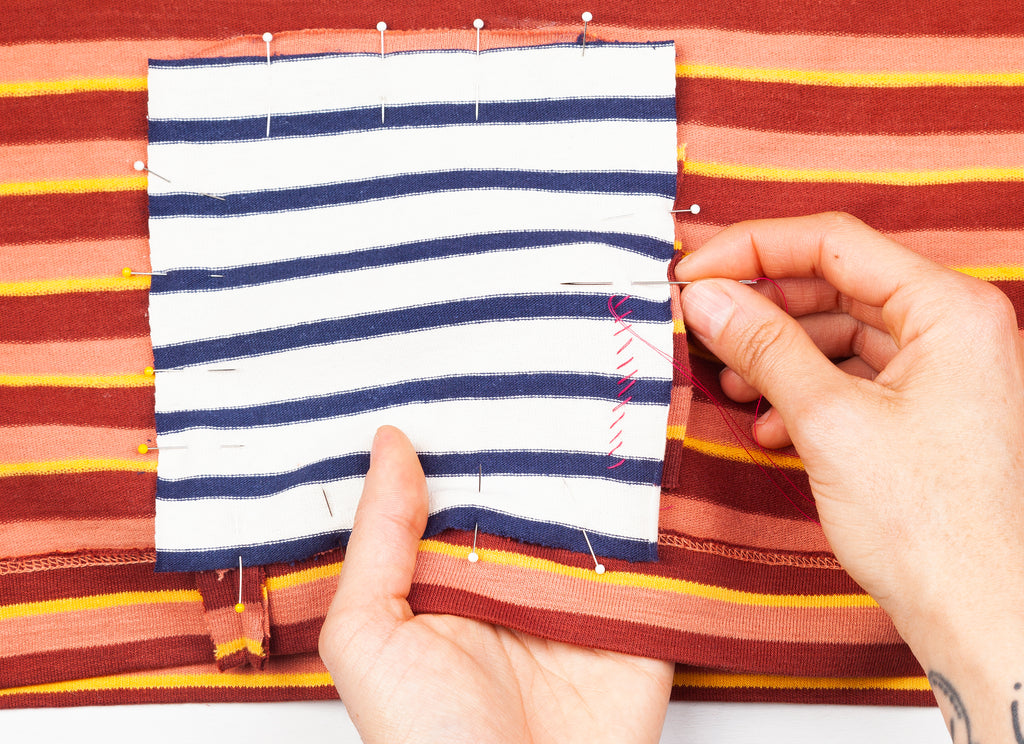
4. Sew the patch. Using doubled over sewing thread and a sewing needle use the whip stitch to sew the patch to the shirt. First, come up with the needle between the base of the shirt and fold tucking the knotted end of the thread between the two layers. Come up through the patch just where the shirts hole meets the patch and pull through. As you sew make sure to catch the patch and just the top fold of the shirt, not both layers (unless you don’t mind the thread showing). Place your non-needle holding hand inside the shirt to assist as you sew. You can feel if the needle pierces both layers. Sew around the full patch. Check your work as you go.
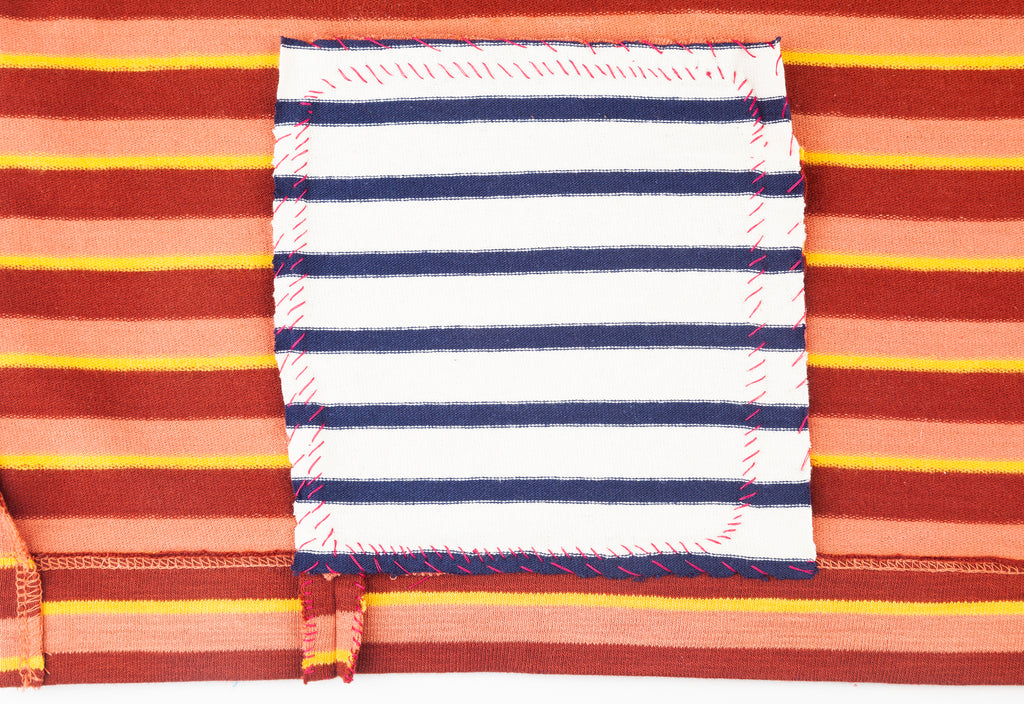
Here's how the reverse side of the patch looks with stitching: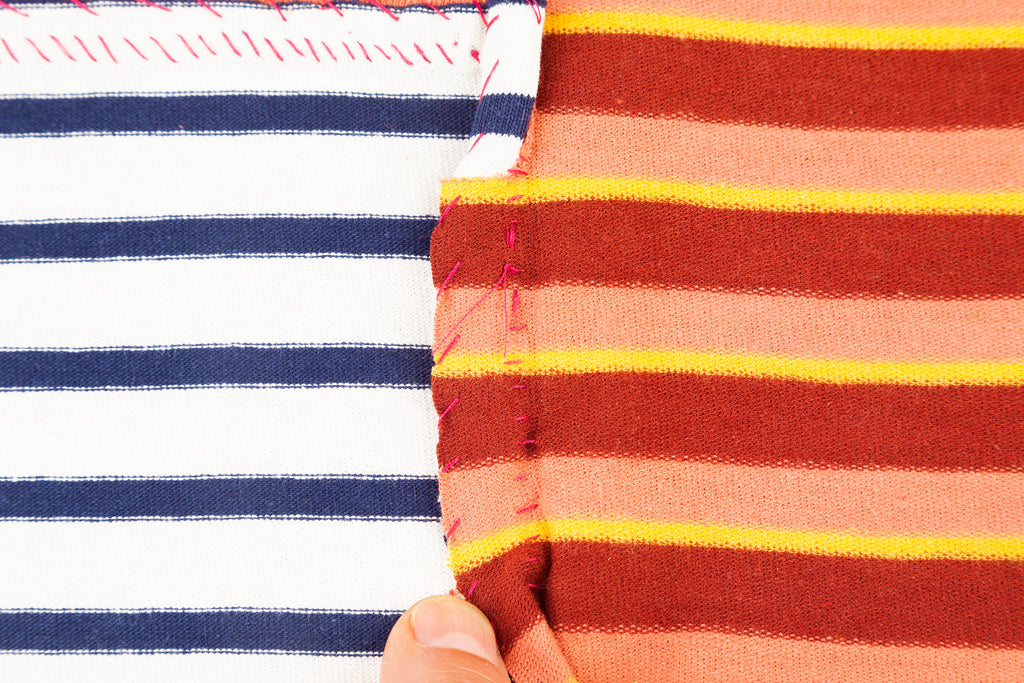
5. Finish edges. Since jersey material doesn’t fray this step is optional, depending on the material of your shirt and how finished you’d like the patch to be. Trim excess of the patch and shirt material so that the edges of both align. With sewing thread and needle whip stitch around the all of the edges.
Hope you this tutorial is helpful and can help inspire future projects. Let me know if you have any questions- happy to help! I'd love, love, love to hear if you used this technique.